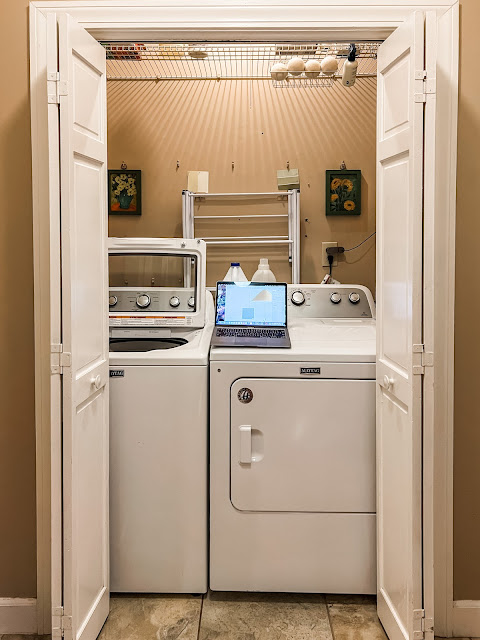
Our first project - the laundry closet!
I can't tell you how excited I am to have this space spruced up.
It was so dark & tired before. There were tons of old wire shelf anchors and the only shelf was way out of reach. Overall, it wasn't functional or pretty to look at. Since I spend so much of my time doing laundry I decided this space needed to not only function well but also feel good. So, without further ado, see the transformation below!
How it started...
I got a lot of practice on my spackling skills with this one. In total there were about 40 holes to fill. Some needed multiple coats, but it was well worth the prep work.
A fresh coat of paint can make a world of a difference!
These shelves turned out great & I'm so happy I decided on the green to add a pop of color.
I'll be doing a separate DIY post on how to construct these shelves - it was super easy!
Now it's time to organize!
These woven baskets from IKEA will store all of the laundry items I don't use on a regular basis & help keep the shelves looking tidy.
To protect the painted shelves, I added these felt furniture pads to the bottom of the baskets.
It makes it much easier to slide them on/off the shelves.
These baskets ended up being the perfect size & work great for hiding all the things.
All put together - the After!
I love the way this space turned out!
It not only feels much better but also functions like a dream compared to before.
I'm still racking my brain on what kind of hang dry solution I want to do. The pulley system isn't an option now due to the pendent light. Maybe a retractable clothes line...?
Let me know if you can feel the difference between the before and after like I do!
Interested in any of the products used?
Go check out my previous post: Laundry Closet - Plan
Happy cleaning!


Post a Comment